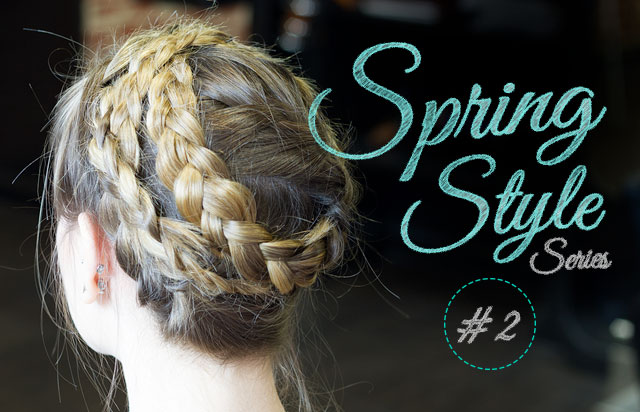
For the second part of our Spring Style Series we created a gorgeous braided updo which is perfect for spring days.
Updo’s like this are usually easier to do on hair that isn’t freshly washed, and makes a beautiful hairstyle for ‘second day hair’. Top Tip: if your hair still needs to be freshened up use a dry shampoo – it will get rid of any oily roots and also help to give the hair some grip so the braids don’t slide out.
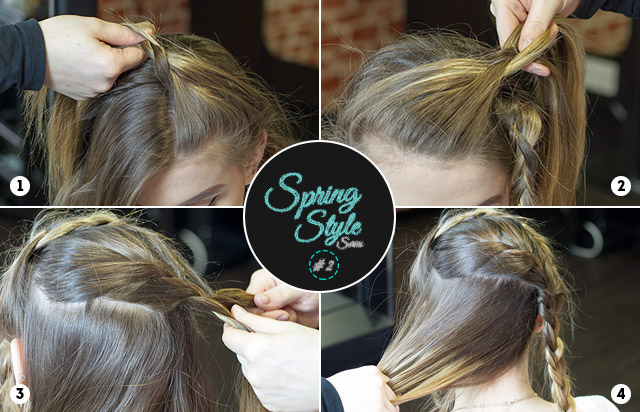 Step 1: Create a parting in your hair slightly to one side. Take the left section at the front of the hair and braid, pulling the hair over to the opposite side. Secure with a clear elastic.
Step 2: Next take the right section at the front of the hair and braid in the opposite direction, securing with a clear elastic. When you pin these braids, the two front sections will cross over (see step 6) so it is important to pull the hair in the opposite direction when braiding so that they lay correctly later.
Step 3: With the remaining hair at the back, split into two sections and braid the top section over to the right hand side, securing with a clear elastic.
Step 4: With the final section of hair, braid again but this time over to the left hand side and secure with an elastic.
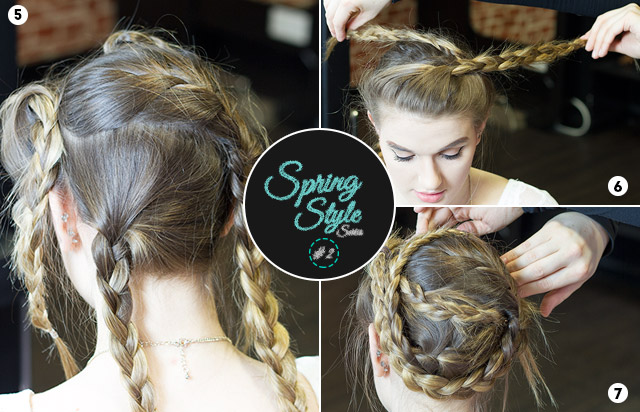 Step 5: You will now have all of your hair in four separate braids as shown in step 5 above.
Step 6: Take the two front braids and cross over, wrapping them around to the back of the head and secure in place with bobby pins. Make sure the ends of the braids cover the partings of the two braids at the back.
Step 7: Take the two braids at the back and pin both braids around to the left and onto the top of the head. This will create the halo braid effect. Finally, using bobby pins, pin any stray pieces of hair into place and spray with a high hold hairspray.
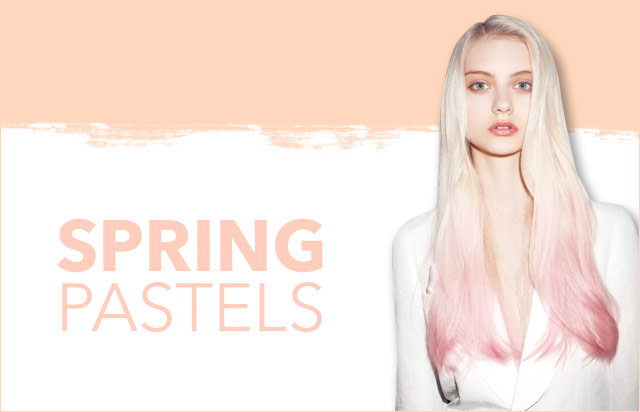
We also love this look with a pop of colour using I&K clip in highlights – clipping the highlights under pieces of hair you can then work them into the braids, whether it’s one colour on its own, or a few pastel colours which is beautiful for spring.
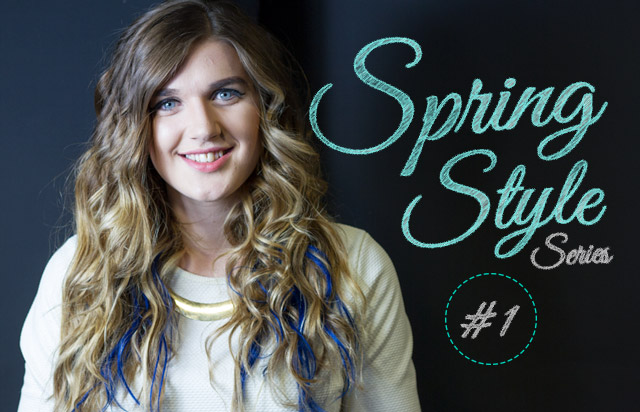
Don’t forget to check out our Spring Style Series Part 1: Dip Dye Boho Waves
 Follow